![Zones_logo_dark_TM@2x.png]](https://l.myzone.org/hs-fs/hubfs/Evolution%20Branding/Zones_logo_dark_TM@2x.png?height=28&name=Zones_logo_dark_TM@2x.png)
What you will need:
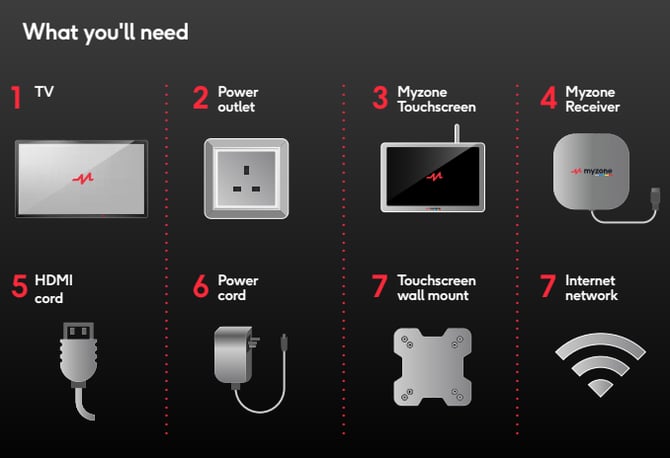
Touchscreen Install Guide
Step 1: Open the box and take out all the materials. You should have the Myzone Touchscreen, HDMI cord, power charger (2 pieces), and touchscreen wall mount.
Step 2: Connect the power cord to the touchscreen and to the wall outlet near your TV - the touchscreen needs power 24/7.

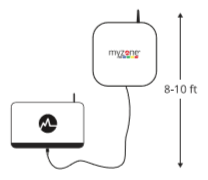
Step 3: Connect the Myzone receiver to the touchscreen through the USB port. The receiver should be wall-mounted 8-10 feet from the ground with no obstructions.
Step 4: Connect the HDMI cord to the TV and touchscreen.
Step 5: Power on the touchscreen and TV - be sure the TV input is set to the correct HDMI port.
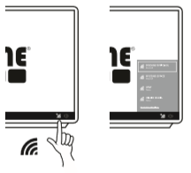
Step 6: Click on the WIFI icon located in the bottom right-hand corner of your TV screen. Connect to your club WIFI network.
Step 7: Open TeamViewer on your touchscreen's desktop and contact Myzone Technical Support by phone or email clubsupport@myzone.org with your TeamViewer ID# to complete the last step of licensing.

How to Display Different Content Across Two TV Screens
If your gym has two TV screens and you would like to show different content on each screen, you can do this by using two separate outputs from the touchscreen - the HDMI and the DisplayPort outputs.
For example, you may want to display Myzone Live tiles on one screen and class content on the other. To set this up, connect one screen using the HDMI output and the second screen using the DisplayPort output. Each output should be connected to its own TV with the appropriate cable.
In this setup, the HDMI cable connects to one TV, while the DisplayPort cable connects to the second TV. This allows each screen to display different content at the same time.
**Important:** Do not use an HDMI splitter for this setup. An HDMI splitter will duplicate the same content across both screens rather than allowing different content to appear on each one.